How to Add Cinematic Text in Your Videos Using VN Video Editor
Making an engaging vlog is a tough job nowadays. To beat the competition you need to excel in a creative way. You have to make engaging and professional looking vlogs. Cinematic videos is a goal for every content creator. One of the best ways to achieve this is by adding cinematic text to your videos. I will guide you and will walk with you through the steps of using the VN Video Editor on your device to add stunning text effects that will captivate your audience.
In today’s social media age, video content creator is king. Whether you’re a v-logger, filmmaker, or social media enthusiast, adding cinematic text to your videos can really make a huge difference. It will elevate your video to next level. The VN Video Editor offers a simple yet powerful way to create professional-looking text animations that give your videos a polished, cinematic feel. To move further and to add cinematic text in your videos using VN Video Editor, follow these steps to enhance your videos with cinematic text.
Step-by-Step Guide to Add Cinematic Text in Your Videos Using VN Video Editor
1. Install and Open the VN Video Editor
First thing first. Download and install the VN Video Editor from our site. Once installed, open the app and create a new project by clicking on “New Project”
2. Add Your Video
Import the video footage you want to enhance with cinematic text. This can be any video you’ve shot and want to edit.
3. Add a Subtitle
Click on “Add Subtitle” tab. This will allow you to insert text you want into your video.
4. Choose the Title Style
Navigate to the “Title” section and select the “Film” option. This style provides a cinematic look to your text. After choosing “Film,” you will see an input box to type your text.
5. Position Your Text
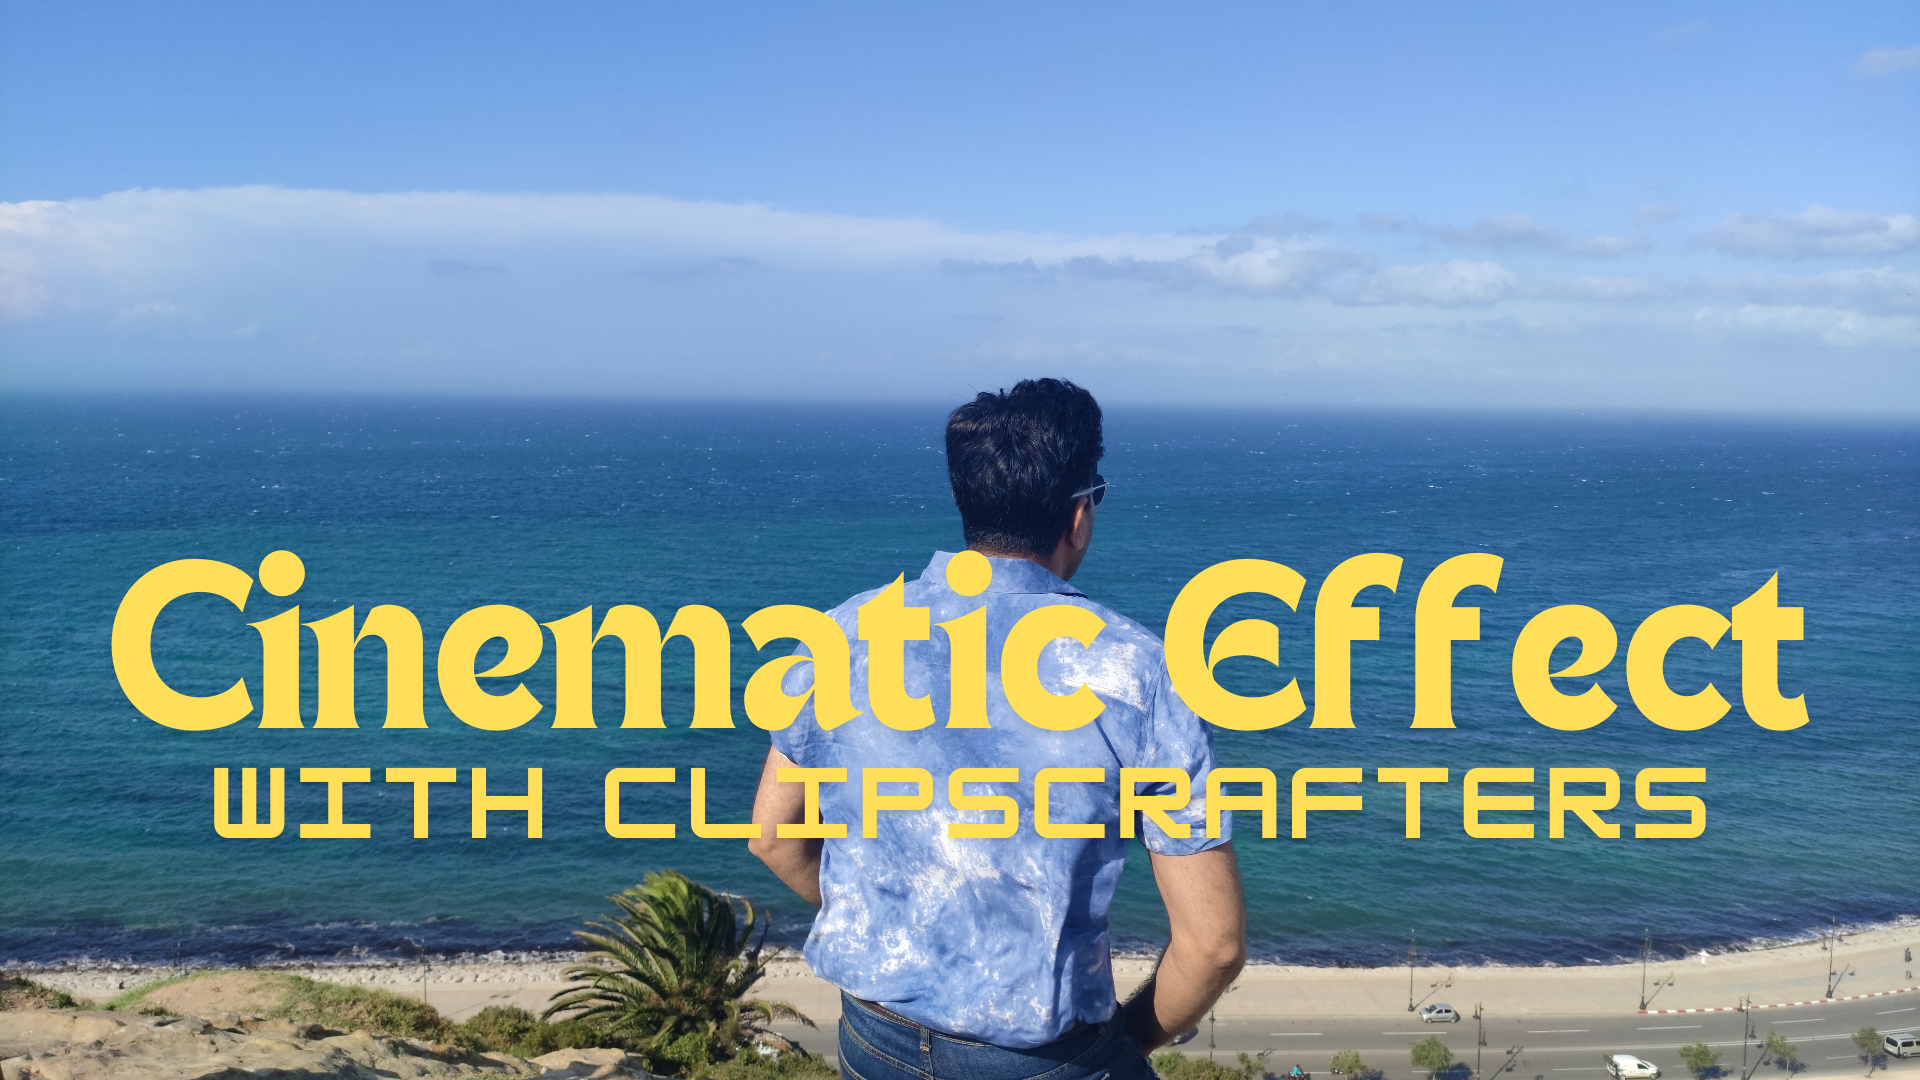
Type the text you want to appear in your video. For example, you might write “Clipscrafters Cinematic Ideas Presents.” Once you’ve typed your text, position it on the screen as desired.
6. Adjust the Text Layer
Drag the text to the appropriate position in your video frame. Ensure it is aligned and sized correctly for a professional look.
7. Add Motion Graphics
To add animation to your text, go to the “Motion” section. Select the “Fade” animation and adjust the timing. A duration of 4.5 seconds usually works well for a smooth, cinematic reveal. Apply the fade-in effect and make sure it transitions smoothly into your video.
8. Add an Outro Animation
To ensure your text exits the screen smoothly, go to the end of your text layer and add an “Out Animation.” Choose “Fade” again and set the duration to 3.7 seconds. This will create a seamless fade-out effect for your text.
9. Customize the Look
Adjust the text’s color, shadow, and blending mode to match the overall aesthetic of your video. Use the blending options to integrate the text naturally with your footage.
10. Export Your Video
Before exporting, set the aspect ratio to 16:9 if you’re uploading to YouTube. Ensure the frame rate is set to 30 FPS, and increase the bitrate for higher quality. Export your video, and you’re ready to share it with the world.
Tips for Better Results to Get Cinematic effect on Videos
Good Lighting
Shoot your footage in well-lit environments. Good lighting enhances the visibility and impact of your cinematic text.
Use High-Quality Footage
High-resolution footage makes your text look sharper and more professional.
Experiment with Effects
Don’t be afraid to try different text animations and effects. The VN app offers a variety of options to suit your creative needs.
Consistent Branding
Use consistent fonts, colors, and styles to create a cohesive look across your videos. This helps in building your brand identity.
Conclusion
Adding cinematic text to your videos using the VN app is an excellent way to enhance your content and engage your audience. By following these simple steps, you can create professional-looking videos that stand out. Experiment with different effects and styles to find what works best for your brand. Happy editing!


